People often ask us what is involved in the VW custom conversion process. We have detailed below the step by step process of how we take the humble VW Transporter, and convert her into a VW Campervan.
We have also put together a video to bring some of these steps to life. If you have any more questions on the process please get in touch.
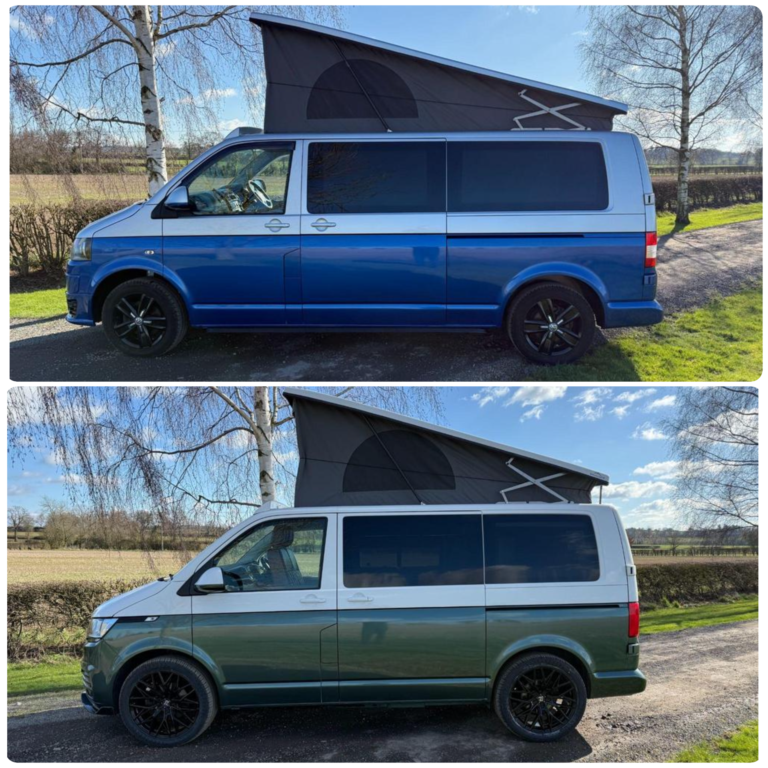
Step 1: When the vehicle arrives at our workshop, the first thing we do is take some photographs to get us started for our before and after transformation pictures. It’s quite a journey these vehicles go on, and we like to look back on where we have come from.
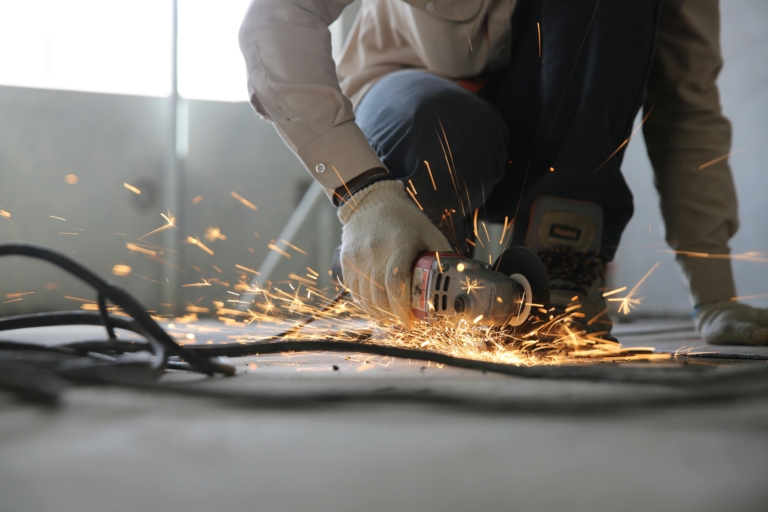
Step 2: We then cover up all the van with protective sheeting, and begin to cut all our metal work. This includes cutting off the roof, and holes for the windows.
Step 3: Next we install our one piece metal framework in order to strengthen the vehicle, and once this is complete we then treat all exposed metal work with red oxide.
Step 4: A full clean out of van is undertaken to ensure there is no remaining metal lurking anywhere it shouldn’t be. If there was, this can make your vehicle rust.
Step 5: Is vapour barrier, sound deadened and insulated to keep your vehicle warm and safe from the outside elements.
Step 6: It’s all about the electrics. The first fix electrics are now installed so they can be hidden behind the panels. This ensures a neat finish and no exposed wires.
Step 7: New PLY panelling is installed throughout the vehicle; hand cut by our in-house carpenter. Once the panel work is complete the vehicle is now ready to be carpeted.
Step 8: We then lay a 1-piece 12mm ply flooring, which is followed by hard wearing Altro flooring,
Step 9: Next we install the curtains or blinds depending on what the customer has chosen, swiftly followed by the windows.
Step 10: New thresholds go on including deeper sidestep to accommodate the higher flooring.
Step 11: On goes the roof next. It is lined through to ensure its straight, and then it’s bolted down. After this it is hoisted up and the gas struts are then attached. Then the tent goes down and is sealed, and the elevating bed board is installed.
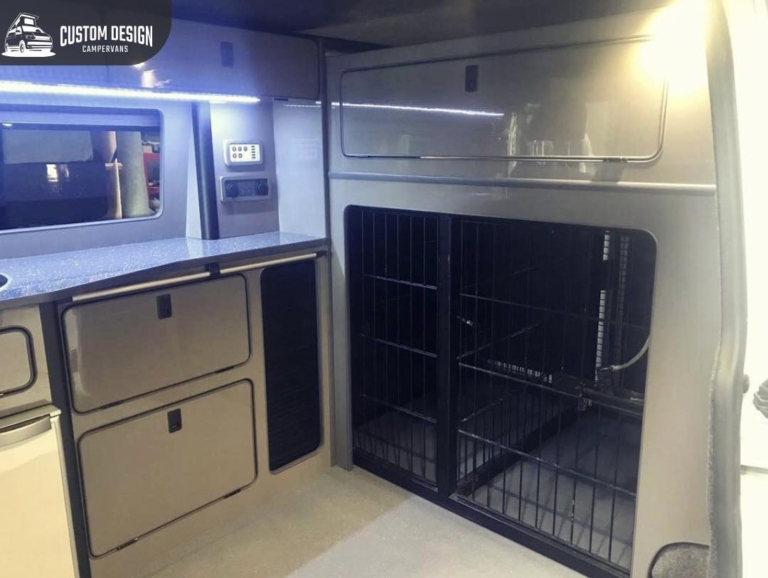
Step 12: Design and build of the kitchen. The customer will have provided us with their chosen layout and colour choices. The sheet material is cut out using templates, and edging trim applied to all components.
Step 13: The kitchen sections are assembled outside vehicle, ready to be fitted.
Step 14: Kitchen is fitted and scribed into the van ready to take electrical final fix and appliances.
Step 15: We now move onto installing the 2nd fix electrics which include sargent management system, and split charge.
Step 16: Next is the seats/bed. The customer choses the upholstery colour, and the material is cut to size and stitched together. Next the bed frame goes in. Now this could be manual or electric, and we have several different brands that we work with, including Titan beds and Rib beds. We would recommend having a bed board to give it a better finish.
Step 17: All appliances are now installed including fridge, sink and hobs, mini grill, microwave. We have all our gas work certified to ensure customer peace of mind.
Step 18: The ‘extras’, e.g. swivel base, diesel heater, awning rail, bumpers, respray, bike rack etc are now installed to really give the van it’s personal touches.
Step 19: Quality assurance check for the entire VW Camper van to ensure all parts are fully functional.
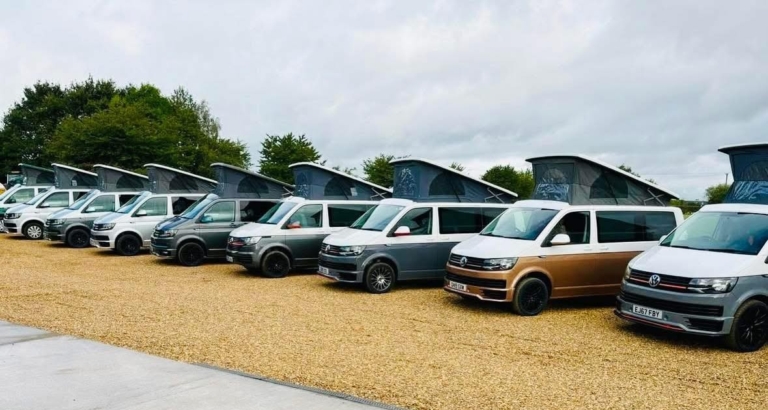
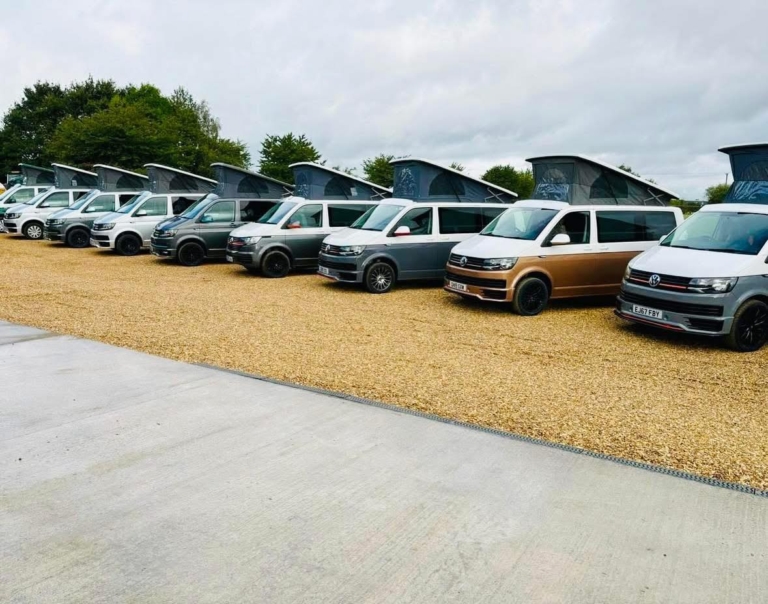
Step 20: The finesse – deep clean and transported to our retail premises ready for the big reveal to the customer.
And there you have it! 20 steps to take you from VW Transporter to VW Campervan.
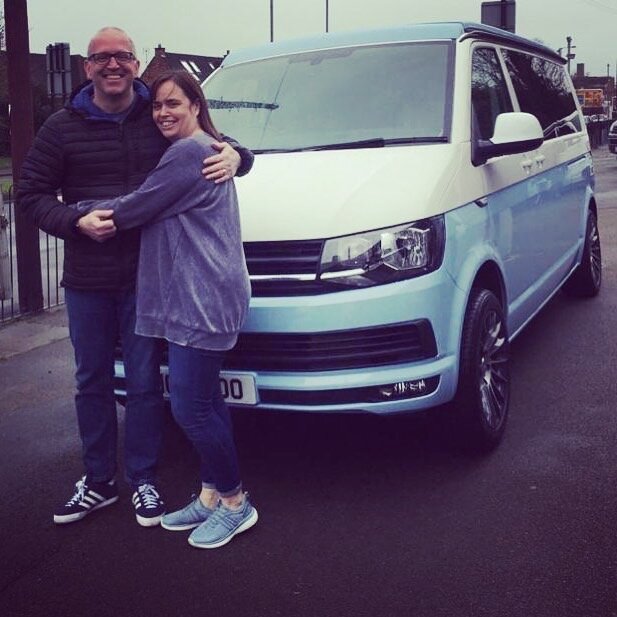
The photo below shows our favourite part of the process – seeing the customers face light up when they see their dream VW camper van has been brought to life. Just amazing!